
The Complete Guide to Tubeless Tire Setup and Maintenance
📍 Verified Local Showcase · Shoeburyness, Essex
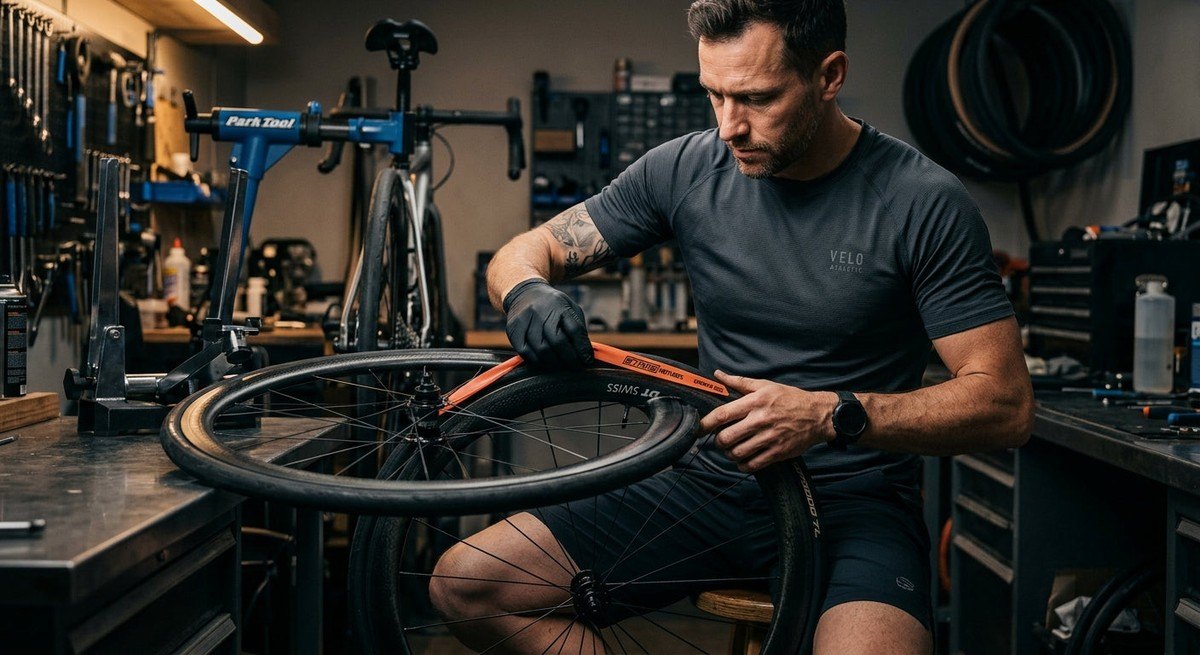
Why Upgrade to a Tubeless Tyre Setup?
Switching to a tubeless tyre setup represents one of the most effective mechanical upgrades for dedicated road cyclists, gravel riders, and triathletes seeking lower rolling resistance and improved puncture resistance. By eliminating traditional inner tubes, you significantly reduce rotational friction and unlock the ability to run lower tyre pressures for enhanced cornering grip, comfort, and control across challenging UK road surfaces and off-road trails.
Essential Tubeless Setup & Maintenance Steps
Achieving a reliable, airtight tubeless seal demands careful preparation and consistent routine care. Following precise installation protocols ensures you remain puncture-free throughout long endurance training blocks and race days:
- Rim Bed Preparation: Thoroughly clean and degrease the rim before applying high-tension tubeless rim tape without air bubbles.
- Valve Seating: Install a tubeless-specific valve, securing the locking collar tightly by hand to protect the rim bed.
- Dry Bead Seating: Seat the tyre bead onto the rim with a track pump or booster before introducing liquid sealant.
- Sealant Injection: Inject high-grade sealant through the removable valve core to avoid messy blowouts and maintain an even spread.
- Top-Up Schedule: Check and top up liquid sealant every 2 to 4 months to prevent drying out and ensure ongoing self-healing protection.
Long-Term Reliability on the Road
Routine maintenance keeps your tubeless system performing at its peak. Regularly inspect your tyre treads for embedded flint, clear valve cores of coagulated latex, and ensure pressure levels match your target riding terrain. To discover more road cycling gear reviews, triathlon setup tips, and endurance training advice, explore our extensive collection of guides on Sundried.com or share your setup questions in the comments below.